Share the Sound: Connecting Multiple Headphones to Your Laptop Made Easy
In this digital era, sharing experiences is an essential part of our daily lives, whether it’s watching a movie, playing games, or listening to music. If you’re wondering how to connect multiple headphones to your laptop in 2023, we’ve got you covered. With the advancements in technology, setting up a shared audio experience has become more accessible than ever before. Let’s dive into the step-by-step process to connect multiple headphones to your laptop.
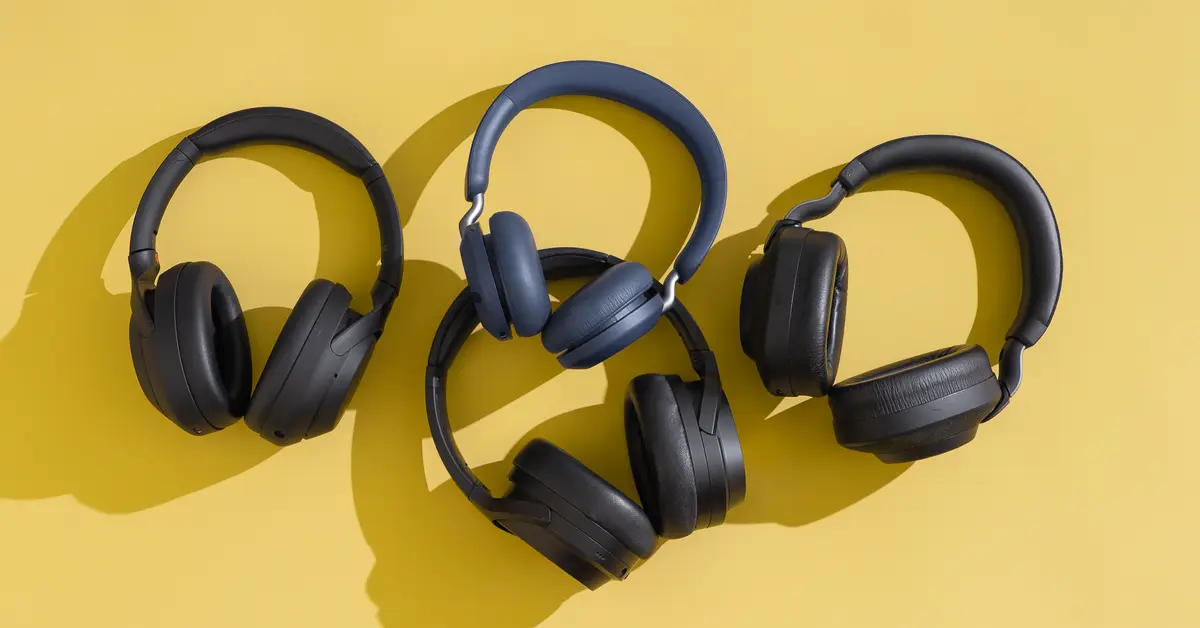
Buy Top Quality Headphones at Best Prices from Amazon.com
Step 1: Check your laptop’s audio output ports
Before connecting multiple headphones, ensure that your laptop has the necessary audio output ports. Most laptops have a single 3.5mm headphone jack or a combination jack that supports both audio input and output. However, some laptops might have separate ports for headphones and microphones. Identify the available ports on your laptop to proceed with the connection.
Buy Top Quality Headphones at Best Prices from Amazon.com
Step 2: Obtain a headphone splitter or audio interface
To connect multiple headphones, you’ll need a headphone splitter or an audio interface. A headphone splitter is a simple device that allows you to split the audio signal into multiple outputs. On the other hand, an audio interface provides more advanced functionality, such as individual volume controls and improved sound quality. Choose the option that best suits your requirements and budget.
Step 3: Connect the headphone splitter or audio interface
Plug one end of the headphone splitter or audio interface into the audio output port on your laptop. Ensure a secure connection to avoid any audio interruptions. If you’re using an audio interface, follow the manufacturer’s instructions to set it up correctly.
Buy Top Quality Headphones at Best Prices from Amazon.com
Step 4: Connect the headphones
Once the splitter or audio interface is connected to your laptop, plug in the headphones into the available output jacks. Make sure each headphone is properly inserted to ensure optimal audio quality.
Step 5: Adjust volume and audio settings
After connecting the headphones, adjust the volume levels on your laptop and the individual volume controls on the audio interface (if applicable). Test the audio output by playing a sample audio or video file to ensure all headphones are working correctly.
Step 6: Enjoy shared audio experiences
With multiple headphones connected to your laptop, you can now enjoy shared audio experiences with your friends, family, or colleagues. Whether it’s watching a movie together, playing multiplayer games, or listening to music simultaneously, everyone can immerse themselves in the audio experience.
Conclusion
Connecting multiple headphones to your laptop in 2023 is a simple process that enhances shared audio experiences. By following the steps outlined above, you can effortlessly set up a shared audio environment and enjoy various activities with your peers. So, gather your headphones, follow the guide, and let the sound flow!